
Homemade Soap, The Melt and Pour Method
What better modern homesteading skill is there to learn than how to make soap? Although many of us are accustomed to liquid soap and even fragrant, foamy soap, bar soap that is all natural is not that difficult to make and smells beautiful. Plus, when you make homemade soap you can be sure to avoid any toxic ingredients that so often sneak into store-bought soaps. Once you learn how to make soap, you’ll officially break through the barrier and become a modern homesteader.
The first person I knew who made homemade soap was an adorable homesteader in Guthrie, Oklahoma. She sold lavender and oatmeal soaps and other beauty products, just sort of on the side. I never realized how easy it was to take on this project, and it’s a great way to make some extra money and start a side hustle.
The Melt and Pour Method
There are two ways to make soap–one method is called a melt and pour method. One of the benefits to this method is that it doesn’t require you to work with lye, so it is safe to work with and pretty easy. It also helps soap come together in just a matter of minutes. Much like melting beeswax for homemade candles, all you have to do is melt down a soap base, mix it up with natural fragrance and flowers, then pour it to dry. For this article, we’ll focus on the melt and pour method, as it’s much more beginner-friendly and quick.
Cold-Pressed Soap Method
Cold–press soapmaking, on the other hand, is a bit more advanced. When working with cold-press soaps, it takes over a month for the soaps to be cured, but the results are worth it. For this method, you have full control over the ingredients and it does require working with lye. The cold-pressed method is the true *from scratch* method, but a little less accessible. We’ll touch on this more in a later post. By the way, if you like all natural bathtime goodies, check out our bath bomb recipe, our sugar scrub recipe, and our bath salts recipe.
Working With Lye
The reason the melt and pour method is better to get started with soap-making is because it doesn’t require you to work with lye, but instead, to melt down a base of soap that contains lye. It takes the chemistry piece out! So, what is lye? Lye is sodium hydroxide. This compound is what makes oil and water form into a solid bar.

Homemade Soap Ingredients
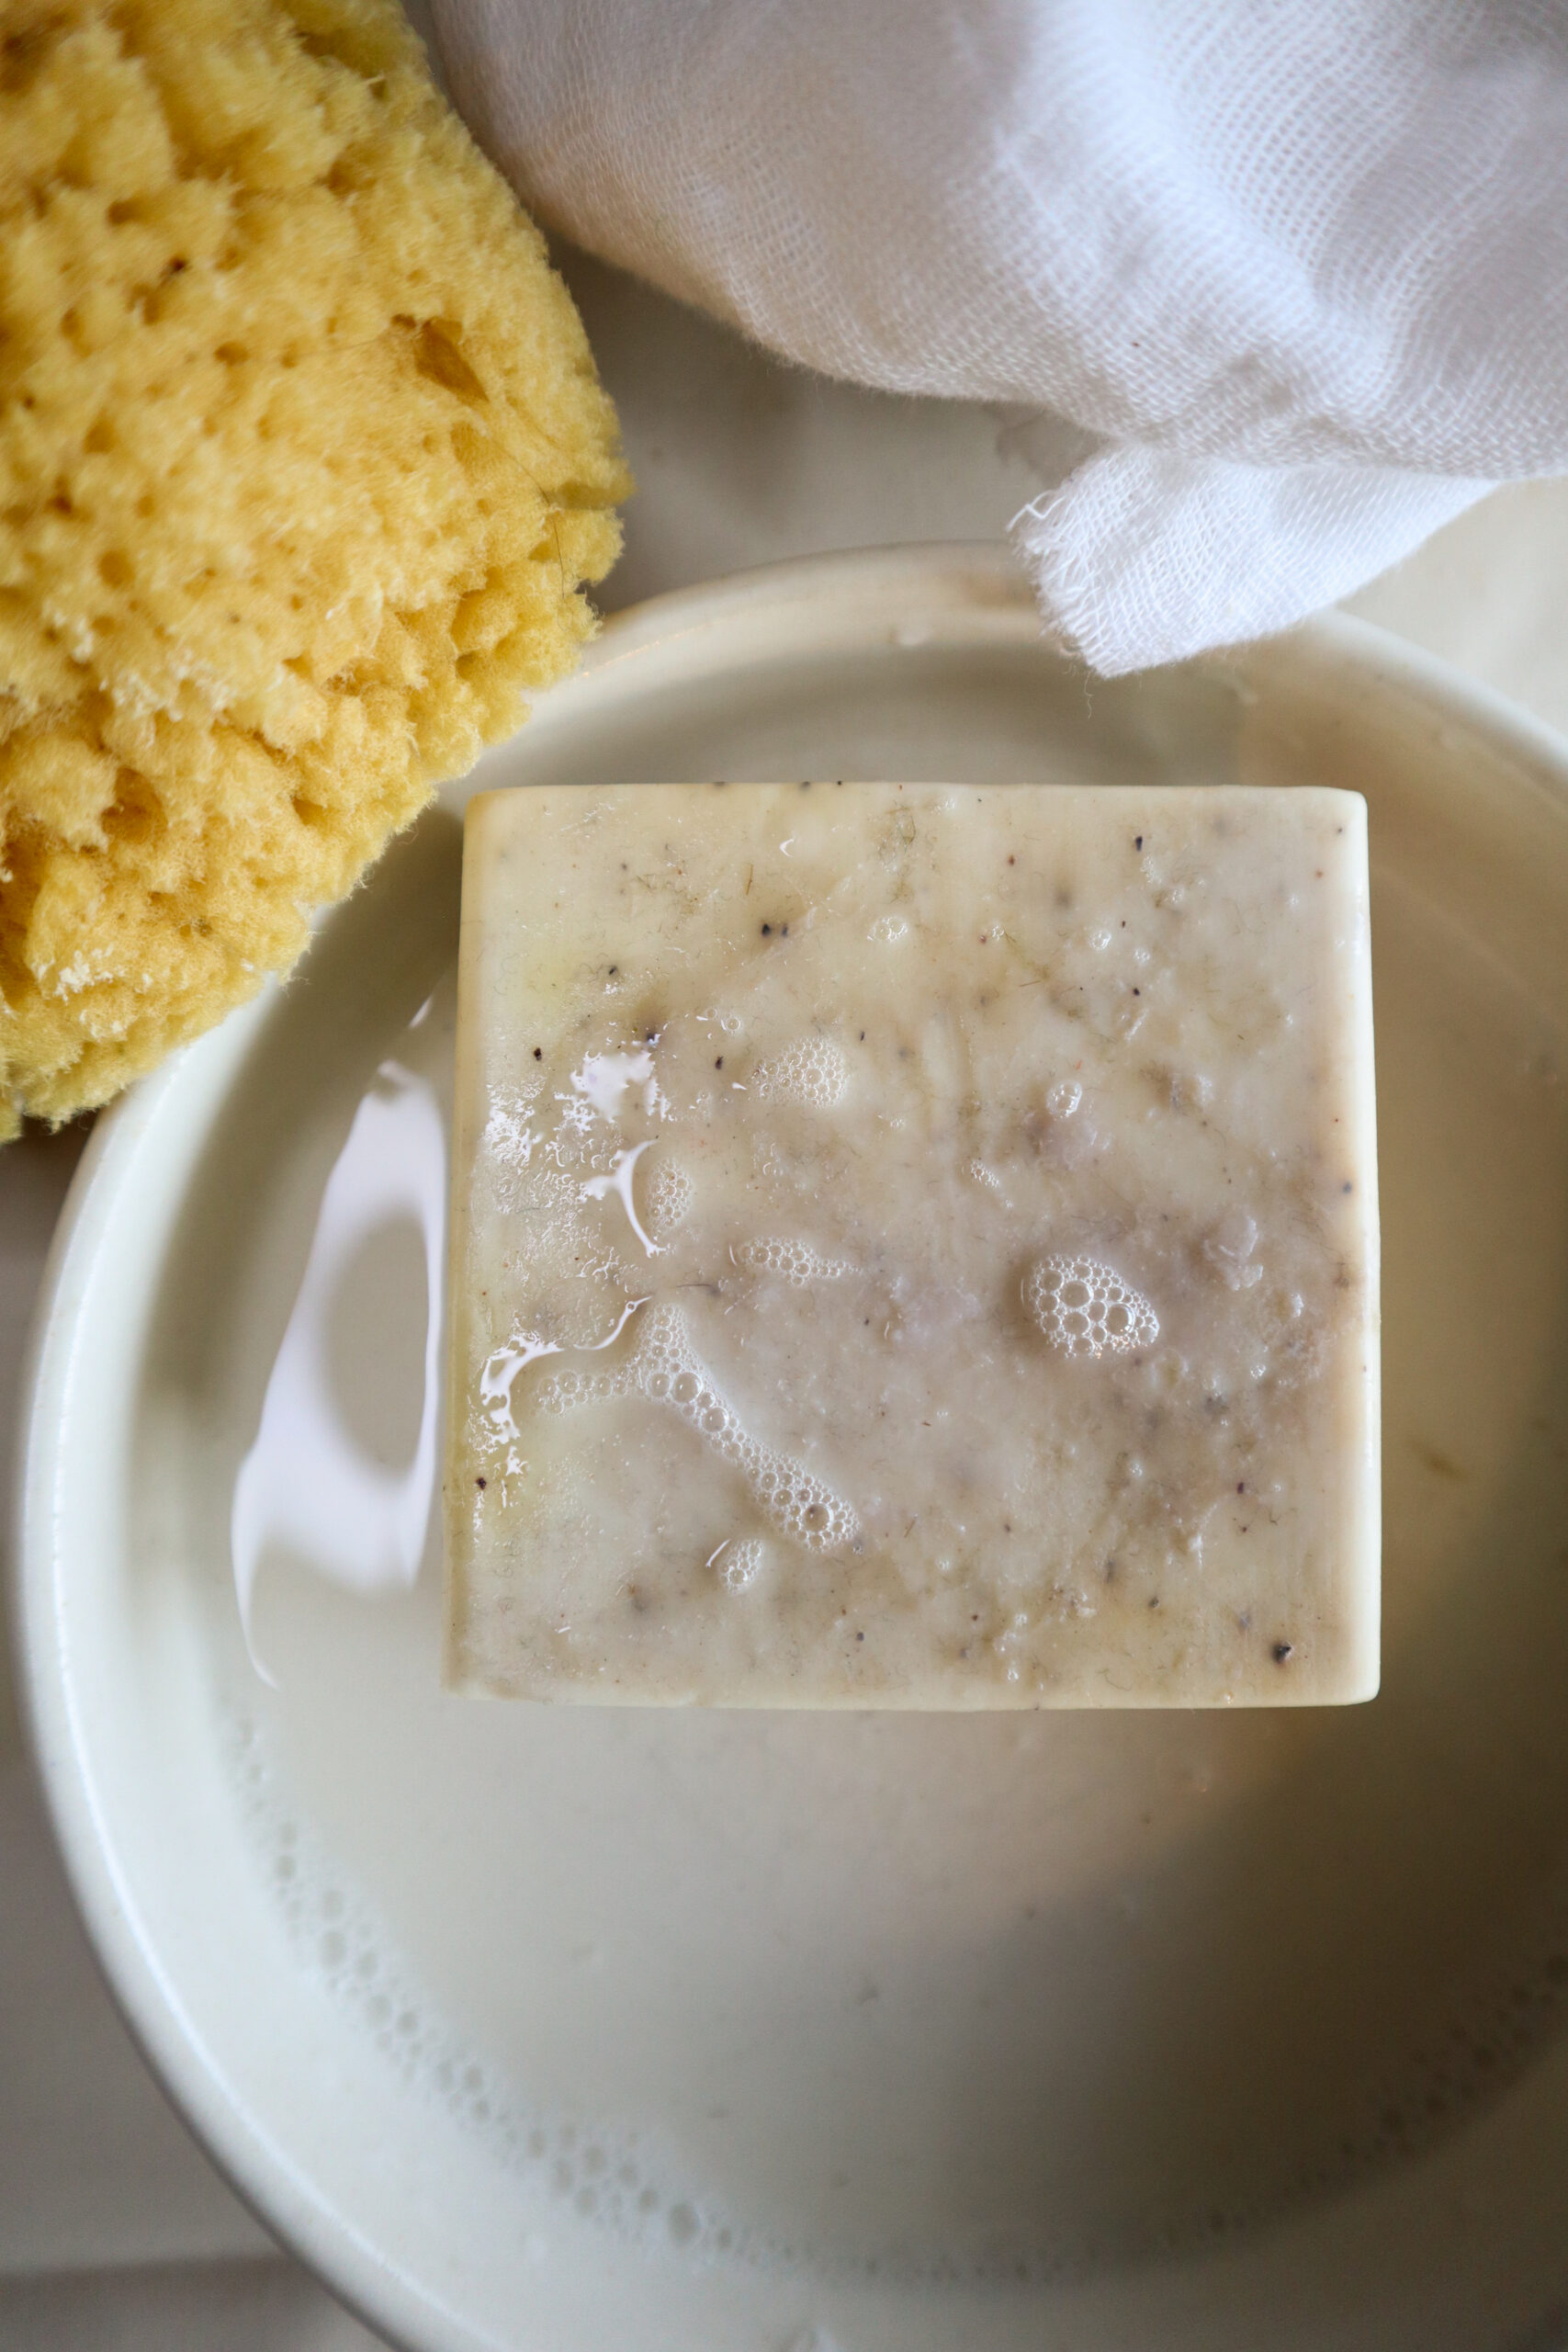
Natural Dyes – To add character and color to your homemade soap, consider adding some natural, soap-safe dyes to the mix. Popular choices are turmeric and hibiscus.
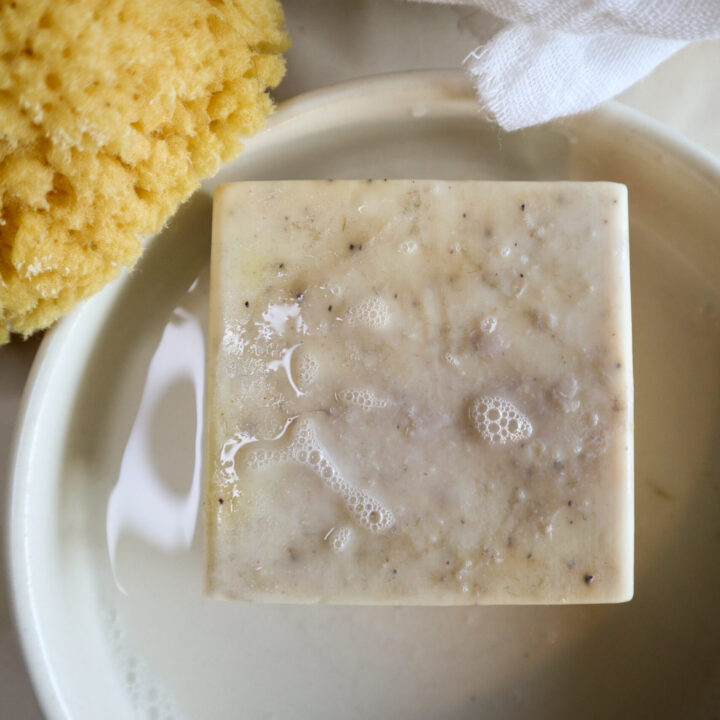
Fragrance Oil – This step is important for the melt and pour method. Adding some essential oils or other natural fragrance are what will give the soap its yummy smell. An easy fragrance combination that you might already have on hand is oats blended to a fine consistency, cinnamon, and vanilla.
Garnish – I love to sprinkle dried flowers and herbs to my bars of soap.
Tools You’ll Need
- soap base
- rubbing alcohol
- measuring cups and spoons
- fragrant oil
- whisk
- rubber spatula
- a soap mold

How to Make Homemade Soap, the Melt and Pour Method
Step 1
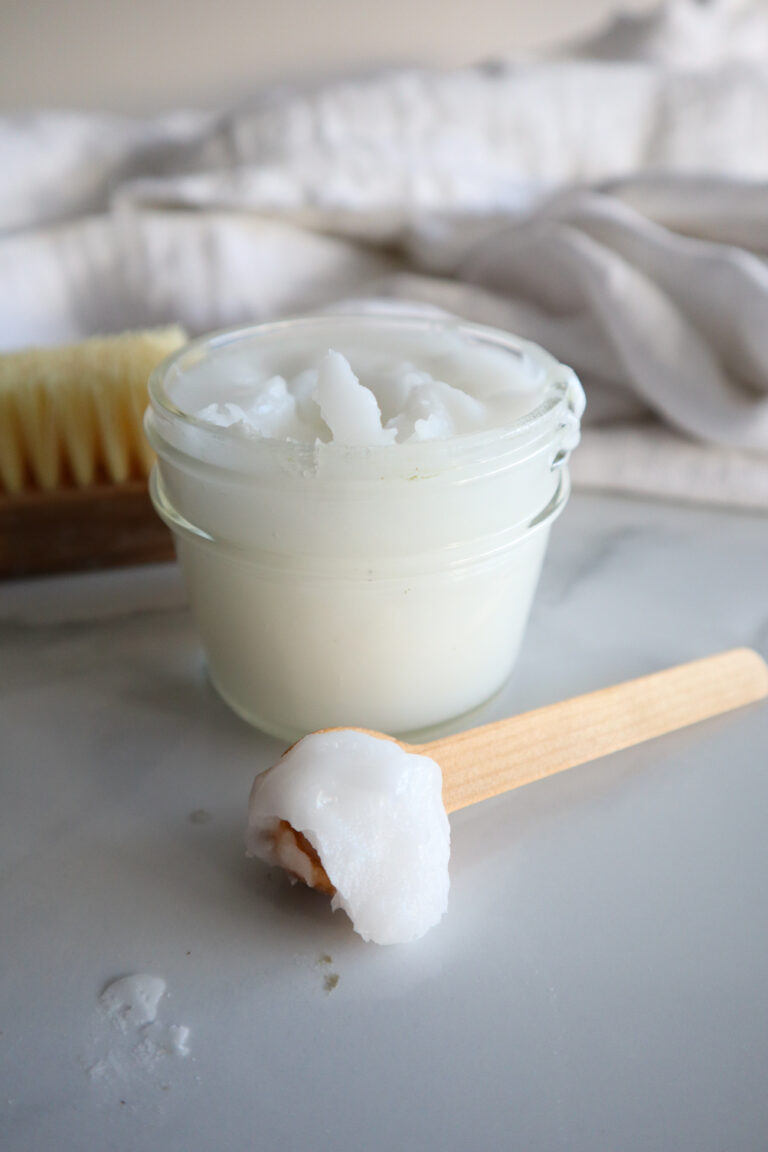
First, you’ll prep your supplies. Chop your soap base into tiny cubes–about 1-2 inches each. Set these aside.
Step 2
Melt the soap base in a microwave safe container or over a stovetop until it forms a thick but smooth consistency that can be stirred. This may take some time.
Step 3
Add fragrance and natural dye into the melted base and mix thoroughly. Try essential oils or natural fragrance oils. (For a swirly or marbleized appearance, don’t mix the dye in completely.)
Step 4
Carefully pour the soap mixture into a mold and let sit for at least 4 hours, ideally for a day. If you don’t have a soap mold, consider using a bread pan or muffin pan.
Step 5
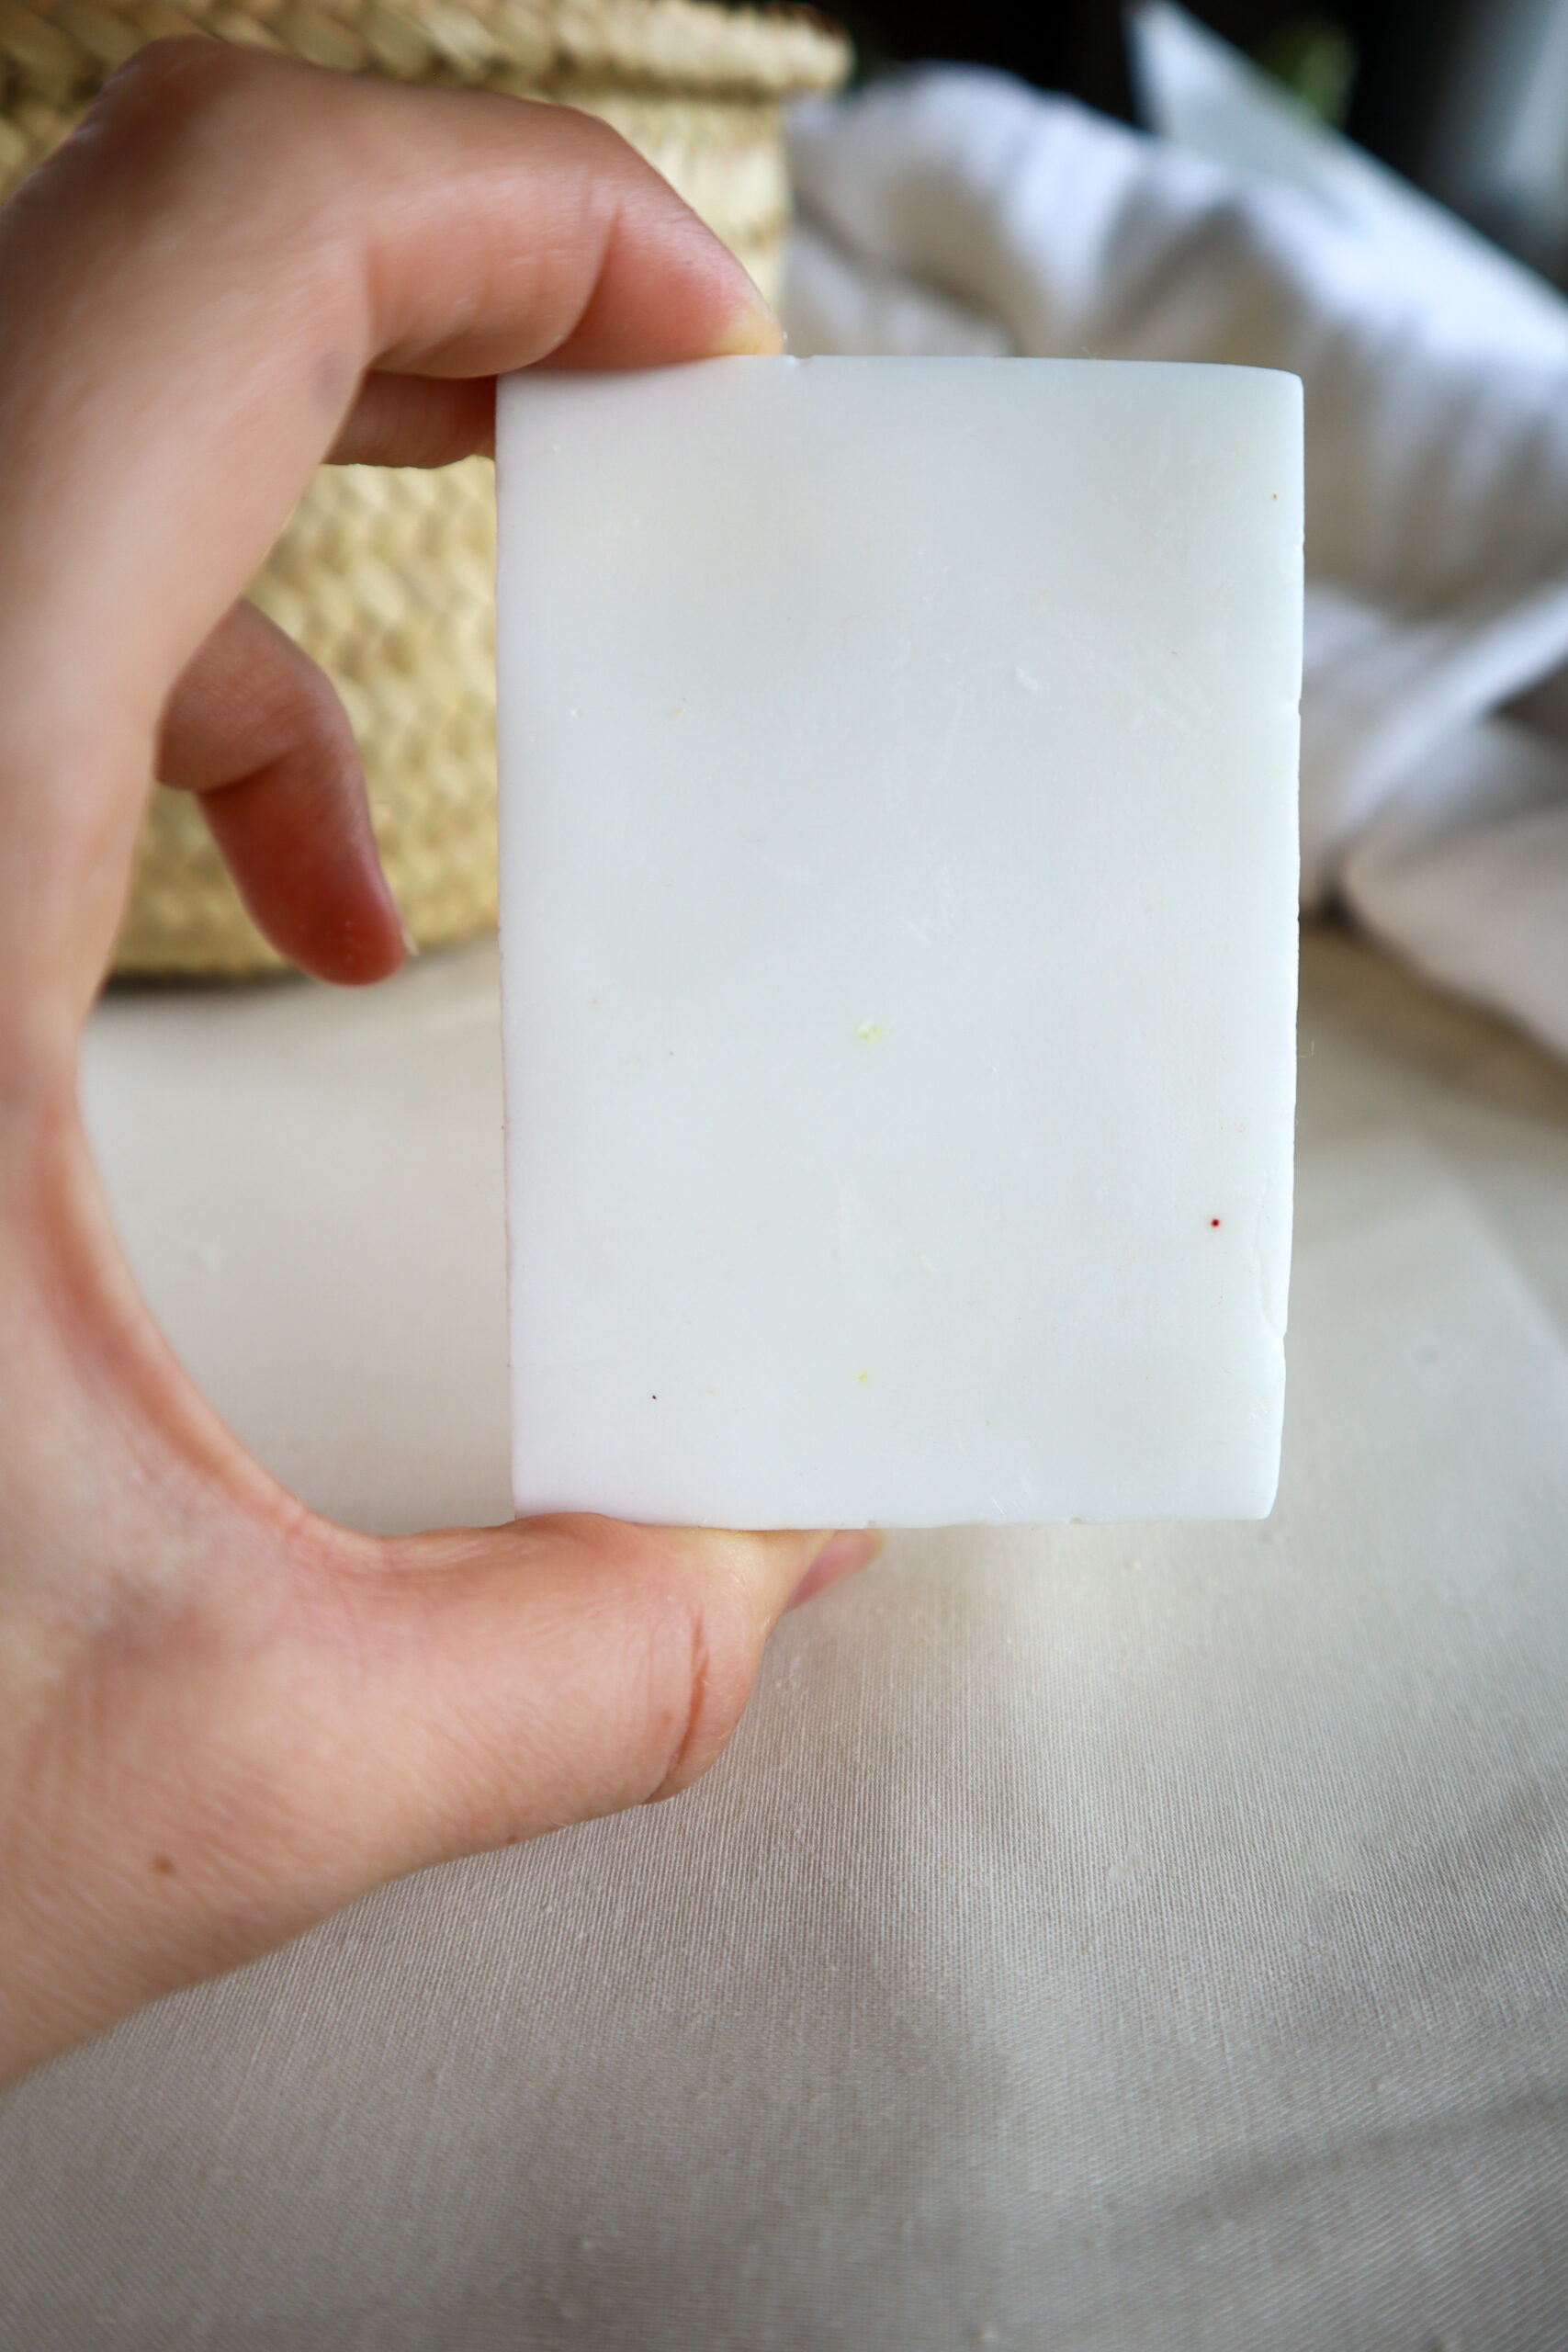
After the soap has had time to sit, pop your soap out of the molds. Voila!
Congratulations on mastering this modern homesteading skill. You’ve learned how to make soap!
Tips for Making Homemade Soap
What supplies do I need to make melt and pour soap?
The primary thing you need is a soap base. Popular soap bases include: shea butter, goat milk, or castille soap. Check out your local craft store to get started. You certainly don’t need a professional soap mold. Any ice try, bread pan, or cocktail ice cube will do.
What can I mix with melt and pour soap base?
We suggest mixing essential oils for a rejuvenating bathtime ritual. You can also try natural fragrance oils, or even food-safe kitchen ingredients like vanilla extract and oats.
Homemade Soap, Melt and Pour Method
This soap making technique is easy, fast, and low cost.
Materials
- 2 cups soap base
- rubbing alcohol
- 1 oz fragrant oil
Tools
- measuring cups and spoons
- whisk
- rubber spatula
- a soap mold
Instructions
1. Measure 2 cups of the soap base. Chop your soap base into tiny cubes–about 1-2 inches.
2. Melt the soap base in a microwave safe container or over a stovetop until it forms a thick but smooth consistency that can be stirred.
3. Add fragrance and natural dye into the melted base and mix thoroughly. (For a swirly or marbleized appearance, don’t mix the dye in completely.)
4. Carefully pour the soap mixture into mld and let sit for at least 4 hours, ideally for a day.
5. After they’ve had time to sit, pop your soap out of the molds. Voila!