
Homemade Toothpaste Recipe
Does an affordable, all natural, zero waste toothpaste sound too good to be true? Think again! With just a few simple household ingredients, you can have this whitening, brightening, strengthening toothpaste in a matter of minutes.
We’ve tried all of the toothpaste brands–even amongst the natural brands, it seems like the ingredients get so complicated, and so expensive! After a little research, I learned that it really doesn’t take much. Plus, I didn’t need to waste plastic or money. So, here’s what I found worked the best for a natural, homemade toothpaste recipe.

The Pros of Homemade Toothpaste
Homemade toothpaste is a great solution for lots of people. No matter what toothpaste brand you prefer, you’ll likely save money by switching to homemade toothpaste. It requires very few ingredients and they are not items you should need to make a grocery run for.
Homemade toothpaste allows you to detoxify and simplify your hygiene routine. Making your own recipe allows you freedom and control so that you know exactly what you’re putting in your body. If you’re trying to eliminate toxins or irritants, making homemade toothpaste is a great idea! If you’re loving these DIY bath ideas, you’ll love our DIY soap and bath salts recipes.
The Cons of Homemade Toothpaste
Is it too good to be true? Well, that depends. After much research, I must note that most dental hygienists suggest using fluoride to protect your teeth and keep them strong and healthy. I am no dentist– please consult your dentist about using this homemade toothpaste recipe and see if she thinks it’s sufficient.
Although this DIY toothpaste may not be the most protective for daily use, this recipe is great to use on occasion or when you want a fresh, natural shine. It’s great to use when you’re tight on money, or when you’re purifying your house and routine. You’ll also love this natural sugar scrub recipe for a homemade pick-me-up.

Ways to Customize Homemade Toothpaste
Looking for a few more options when it comes to this homemade toothpaste recipe? Here are a few ways you can customize your tooth brushing ritual.
Activated Charcoal – Some people add activated charcoal to remove bacteria and food stains from teeth. Simply add a teaspoon to our recipe and see how you like it.
Ginger – Known for its anti-inflammatory effects, ginger can fight disease and decay and even whiten teeth. Add a pinch of ginger powder to our recipe, but beware: it will add a kick.
Bentonite Clay – You’ve seen it in skincare products. Bentonite clay is the natural mouth care ingredient that’ll naturally whiten teeth and freshen breath. Give it a try!
Stevia – This one’s important. Stevia is a naturally-occurring zero calorie sweetener. (My mom uses it in her coffee!) Stevia is a great way to take the baking soda taste out of toothpaste. Add a generous teaspoon or two to neutralize the taste of your toothpaste.
Ingredients in Homemade Toothpaste
The key to making quality, homemade toothpaste, is having the right ingredients. Thankfully, most of us have these ingredients on hand. So, next time you’re running out of toothpaste, try out this easy DIY instead. You’ll be hooked!
Baking Soda– Baking soda is popular amongst many toothpaste brands for its natural whitening properties and plaque-combatting properties.
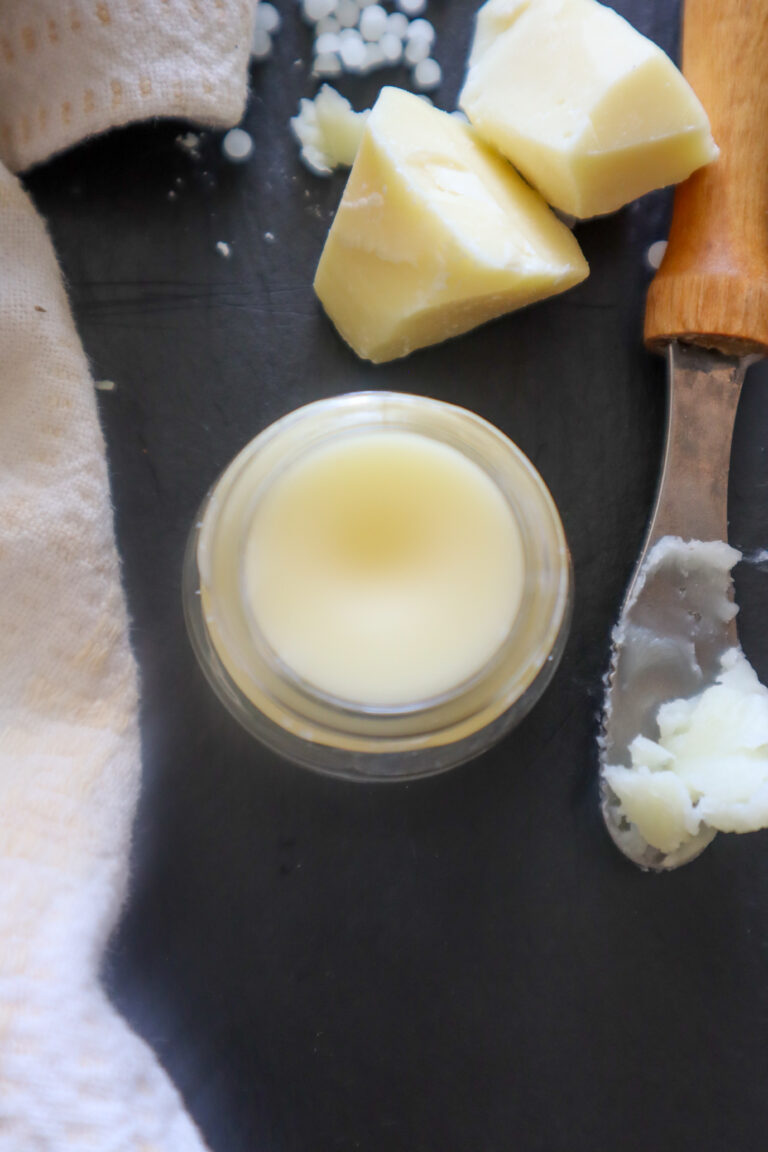
Coconut Oil– Coconut oil naturally fights plaque and gum disease while reducing overall inflammation. Plus, it helps form a paste from baking soda.
Peppermint Essential Oil– Peppermint essential oil has a fresh flavor that will transform any homemade toothpaste flavor. Plus, it destroys bacteria and prevents infection.
Discover our recipe for soothing, healing homemade lip balm.
Here’s How it Works
Baking soda is a type of gentle abrasive. This allows it to fight stains on teeth from things like coffee, tea, and red wine. Since the sodium bicarbonate comes in a powder form, you need a liquid base to form a paste. Many people use water, which is a fine option. However, we suggest using coconut oil so that you can fight bacteria and disease with coconut oil’s natural pulling capabilities. A bit of peppermint oil will leave your mouth feeling minty fresh.
Instructions for Making this Homemade Toothpaste Recipe
Step 1 – Combine Ingredients
Simply mix together one part baking soda to one part coconut oil. Use a mixing bowl and a spoon, or try using a mortar and pestle. Once these are combined, mix in peppermint essential oil.
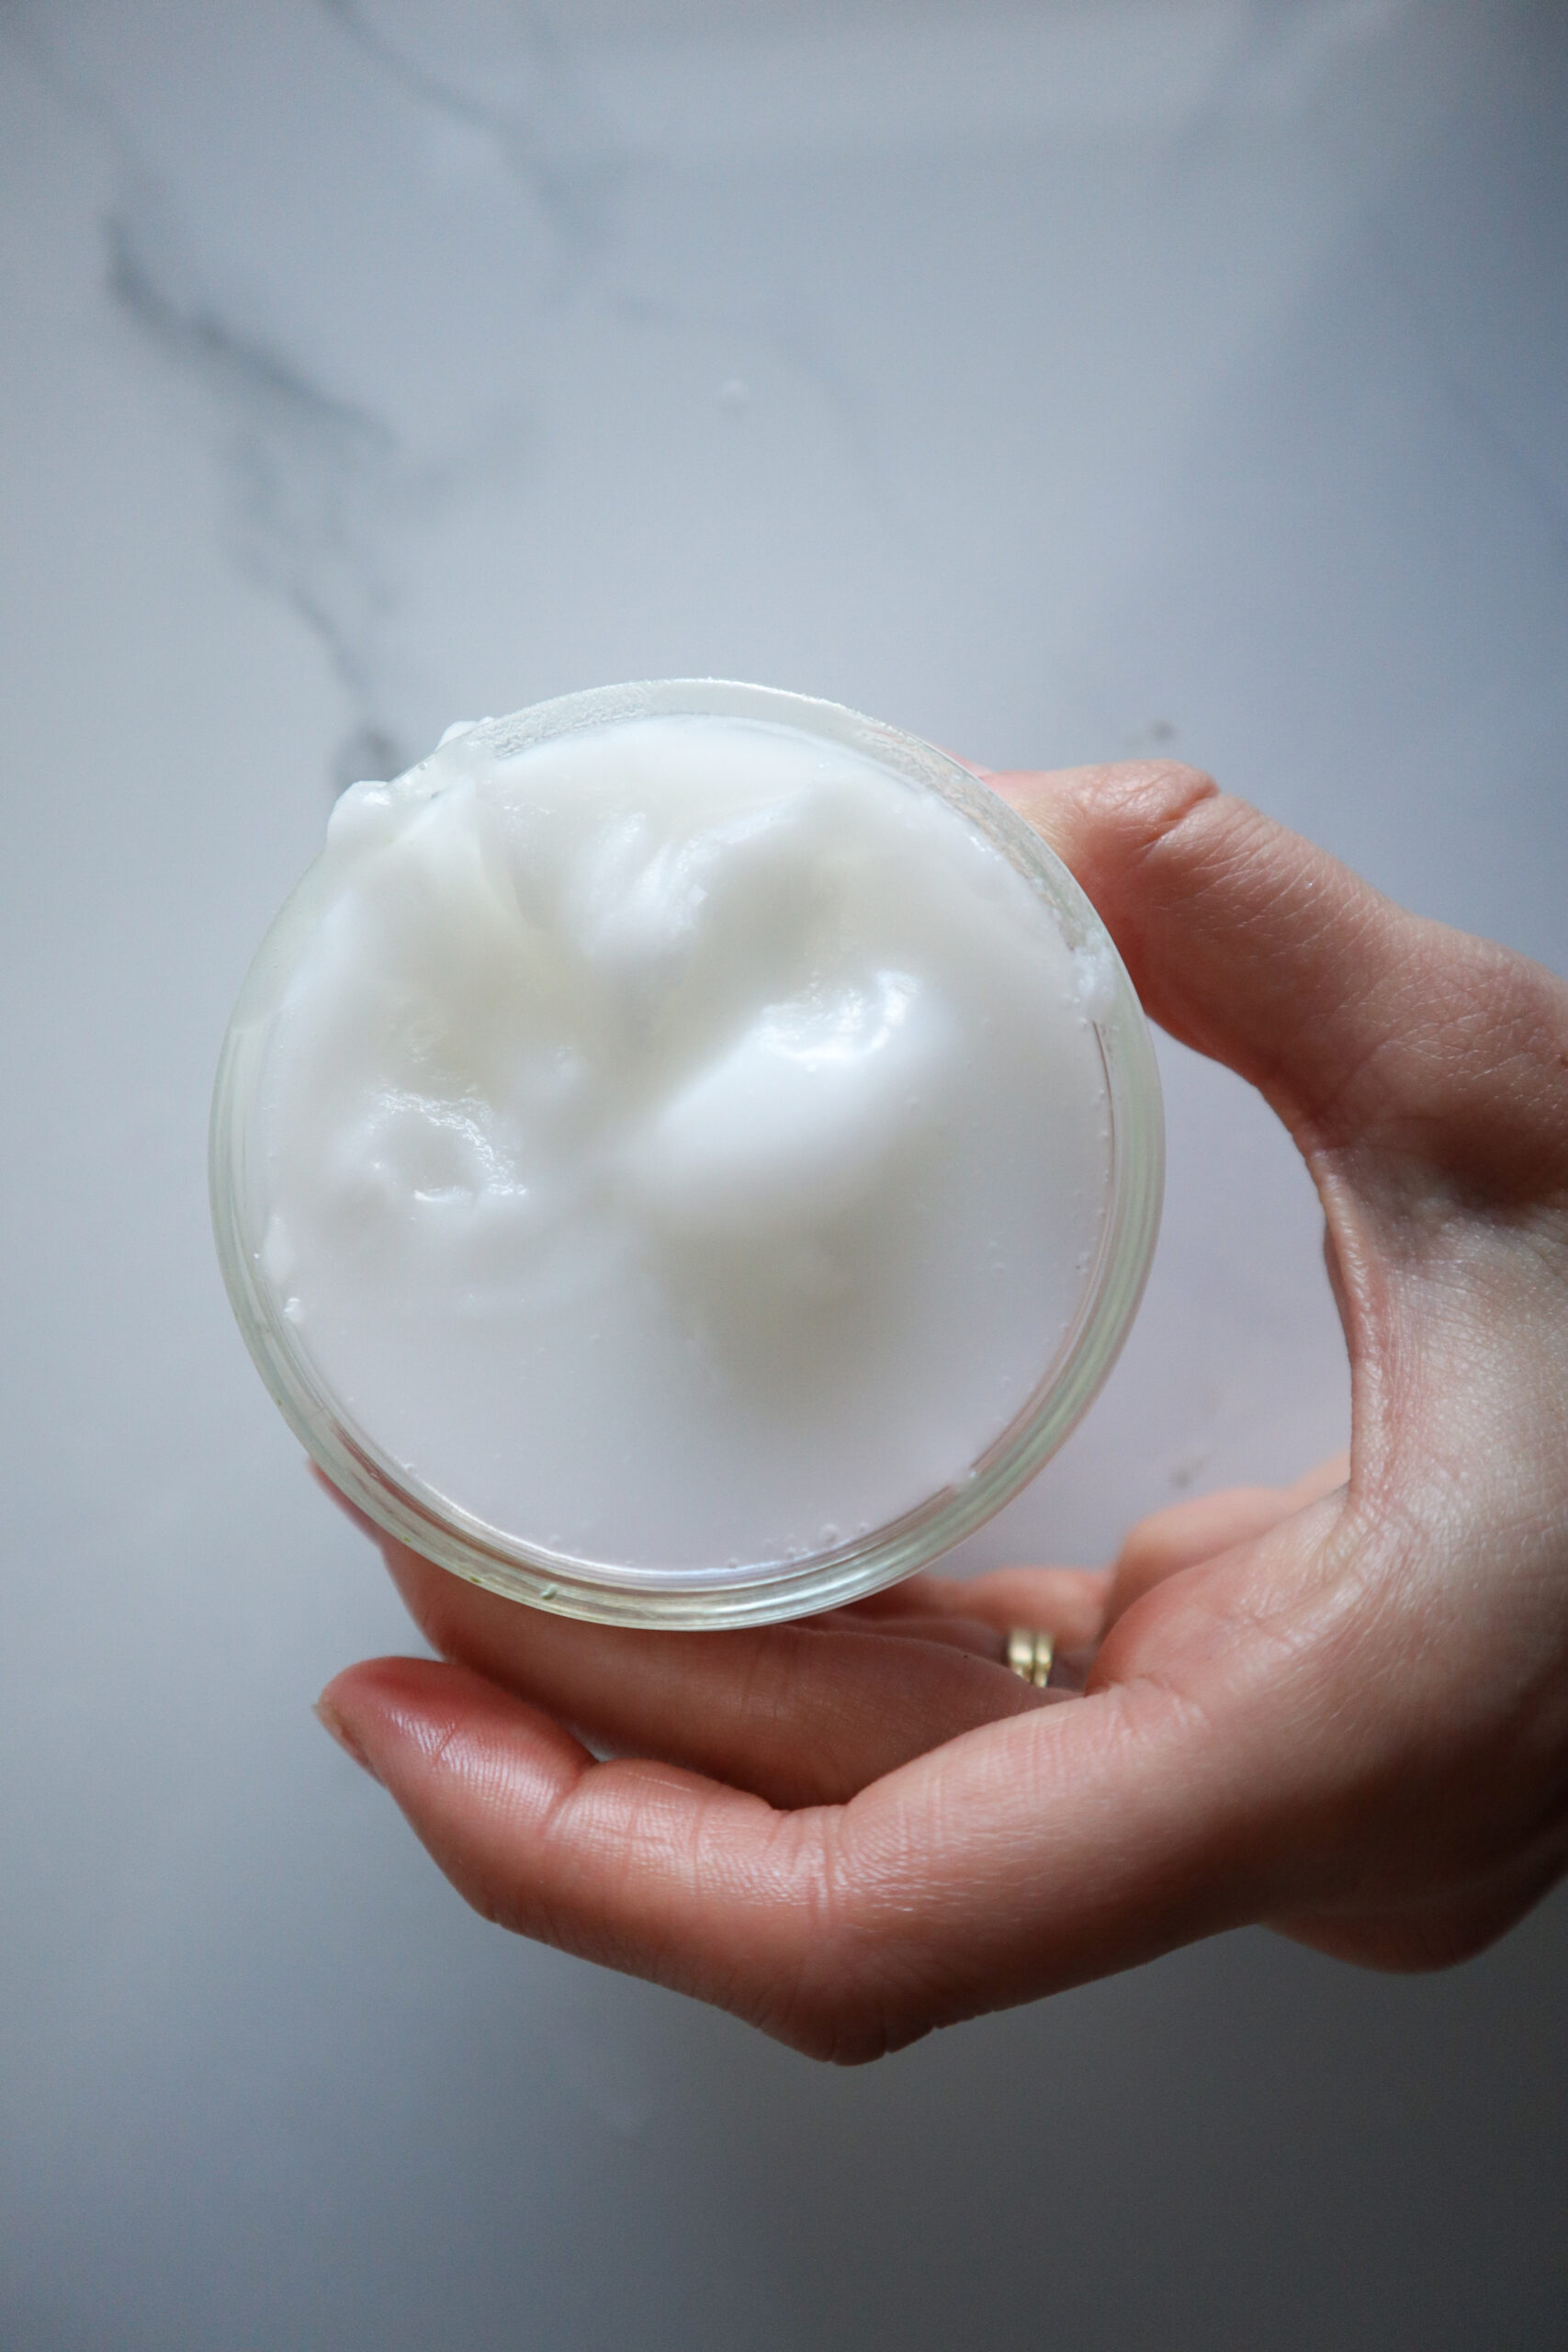
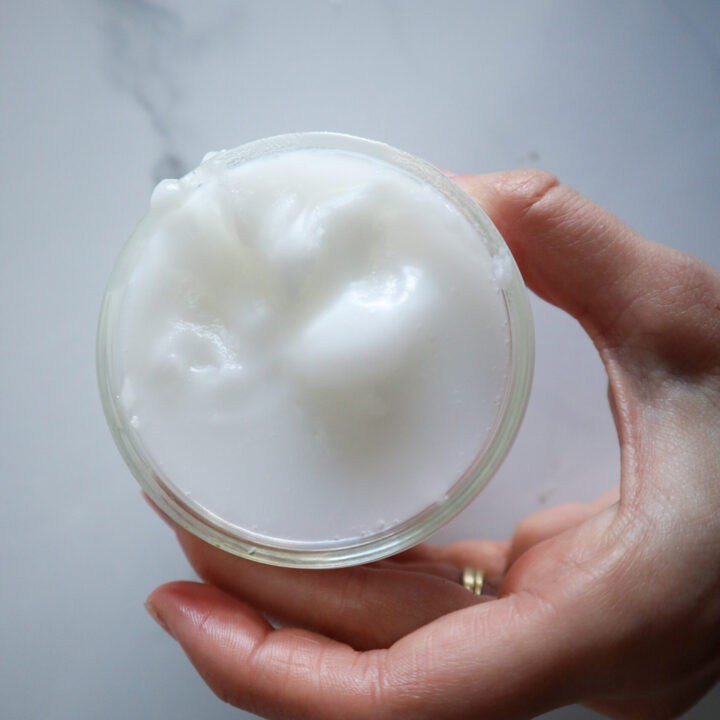
Step 2 – Store in Cool, Dry Place
Now that you have your homemade toothpaste ready to go, find an airtight container you can keep it tucked away in a bathroom counter. Be sure to brush your teeth vigorously for about two minutes twice a day.
*To prevent the toothpaste from melting in a humid, warm home, store this toothpaste in the fridge.
Step 3 – Use a Scoop to Apply the Toothpaste
To add toothpaste to your toothbrush, use a scoop to apply the toothpaste. This will prevent the toothpaste from becoming contaminated.
Tips for Making Homemade Toothpaste
Does homemade toothpaste need a preservative?
Coconut oil should prevent bacteria from forming in your homemade toothpaste. However, we recommend making this small batch and replacing it every few weeks, just to make sure it stays fresh.
Is baking soda good for your teeth?
Yes! Baking soda is effective at cleaning teeth. However, for cavity prevention, fluoride toothpastes are a better option.
Homemade Toothpaste Recipe
Learn to make simple, healthy homemade toothpaste with this easy recipe.
Materials
- 2 tablespoons baking soda
- 2 tablespoons coconut oil
- 5 drops Peppermint essential oil
Instructions
- Combine oil and baking soda in a bowl. Stir continuously until coconut oil and baking soda are blended.
- Add 5 drops of Peppermint essential oil to a bowl. Stire to combine.
- Transfer the homemade toothpaste to an airtight container, such as a mason jar.
- Store in a cool, dry place.